
I use the same method that Brulosopher made popular to harvest yeast directly from your starter, and use Homebrewdads wonderful yeast starter calculator . Can’t promote his caculator enough, it really is great! Most of this should look familiar to you if you’ve read or used this process before but it bears repeating.
Preparing to decant
Step 1: Finish Starter
After 24 hours, the starter is usually done, and more time is actually detrimental to your yeast as it will deplete it’s reservoirs of nutrients in order to keep itself alive. So fermenting to completetion is actually somewhat detrimental to the yeast health. At this time, I prepare to harvest my overbuilt yeast and save that for next time.
Step 3: Cold Crashing
Simply place your flask in the fridge to cold crash for at least 12 hours, I usually just wait a day or so, no need to be exact here, the yeast should flocculated easily.
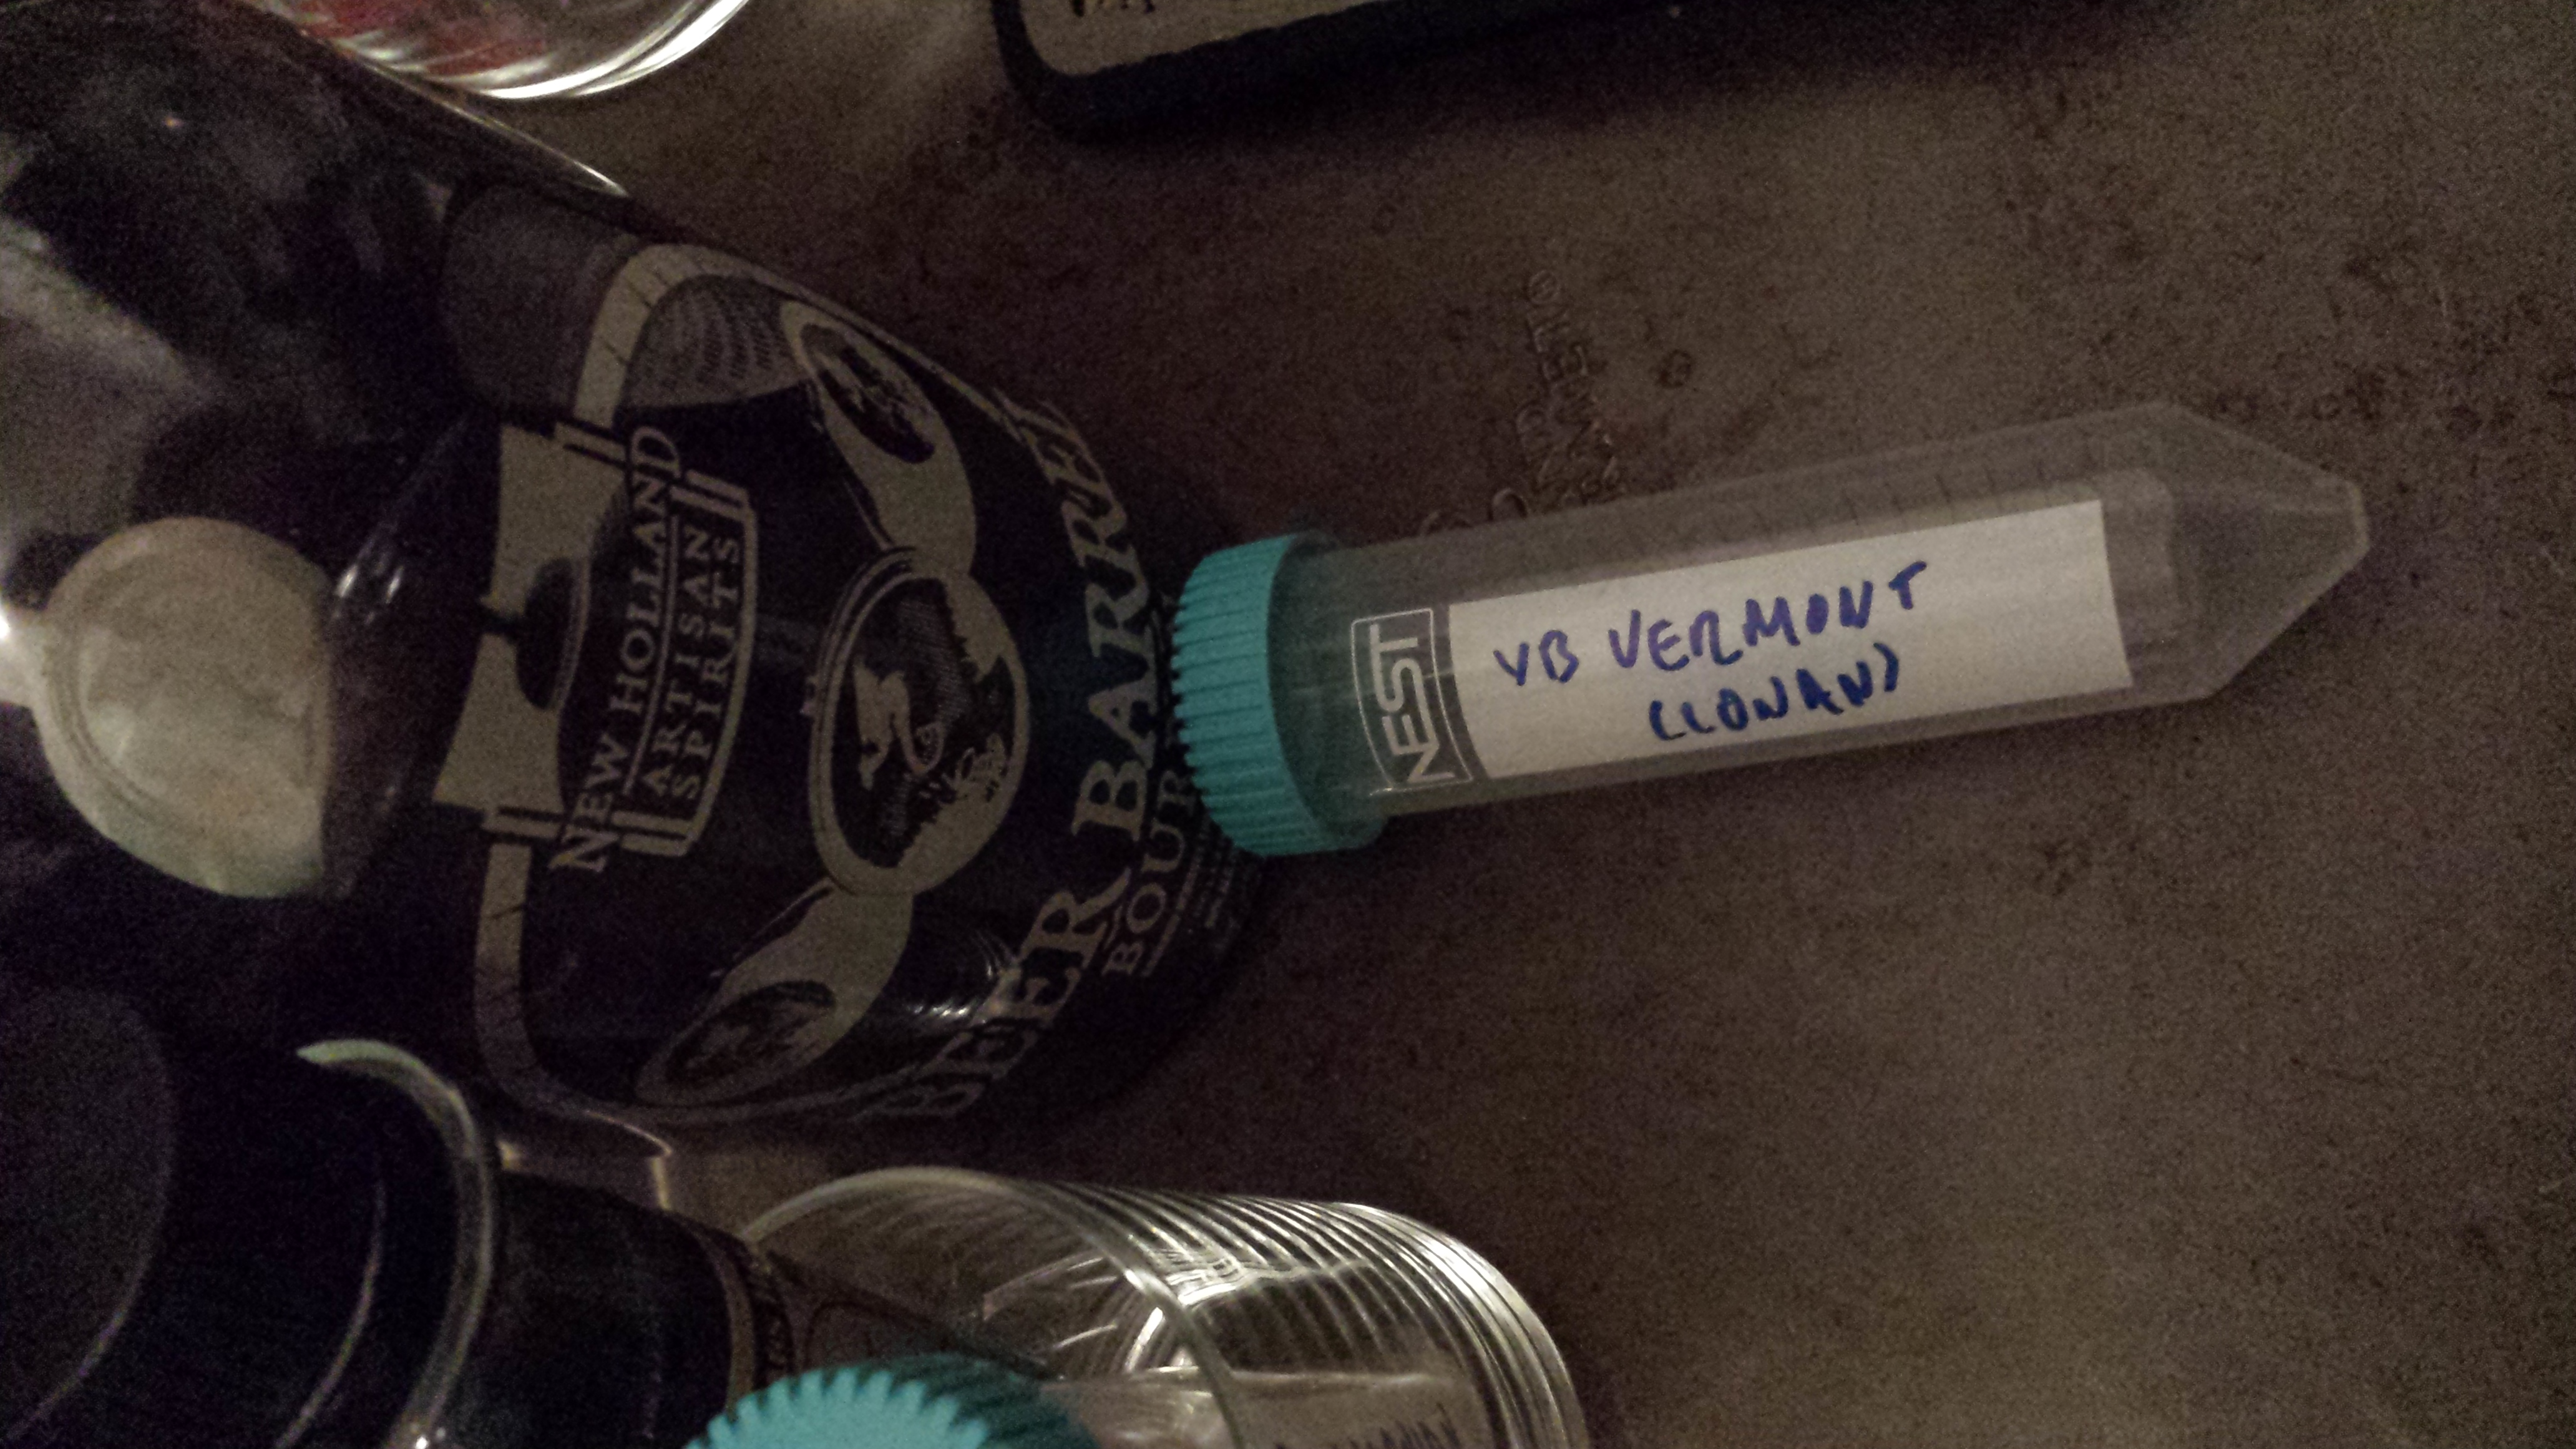
Step 4: Decant, and Harvest
I decant the spent starter wort at this point, leaving just enough in the bottom of the flask to swirl the yeast back up into suspension and make sure it’s homogenous. At which point the yeast is ready for harvesting, simply transfer your homogenous yeast slurry into the container of your choice. I can usually decant down to 10% of it’s initial volume before beginning to disturb the yeast sediment.
Step 5: Estimating your harvested cell count
I typically observe about one billion cells per mL of harvested yeast slurry. This means that a pre sterilized 50 mLcentrifuged tubes will usually contain 45-50B yeast cells. Alternatively, you may fill another vessel of your choosing, using the above estimation of 1B cells per mL, or fill a vessel then let it coldcrash further. Another anecdotal observation, the 45B cells within the 50 mL tubes usually occupy about 20% of the tube, meaning 9-10 mL per 45-50B cells or a cold crashed cell density of 5 billion cells per mL.
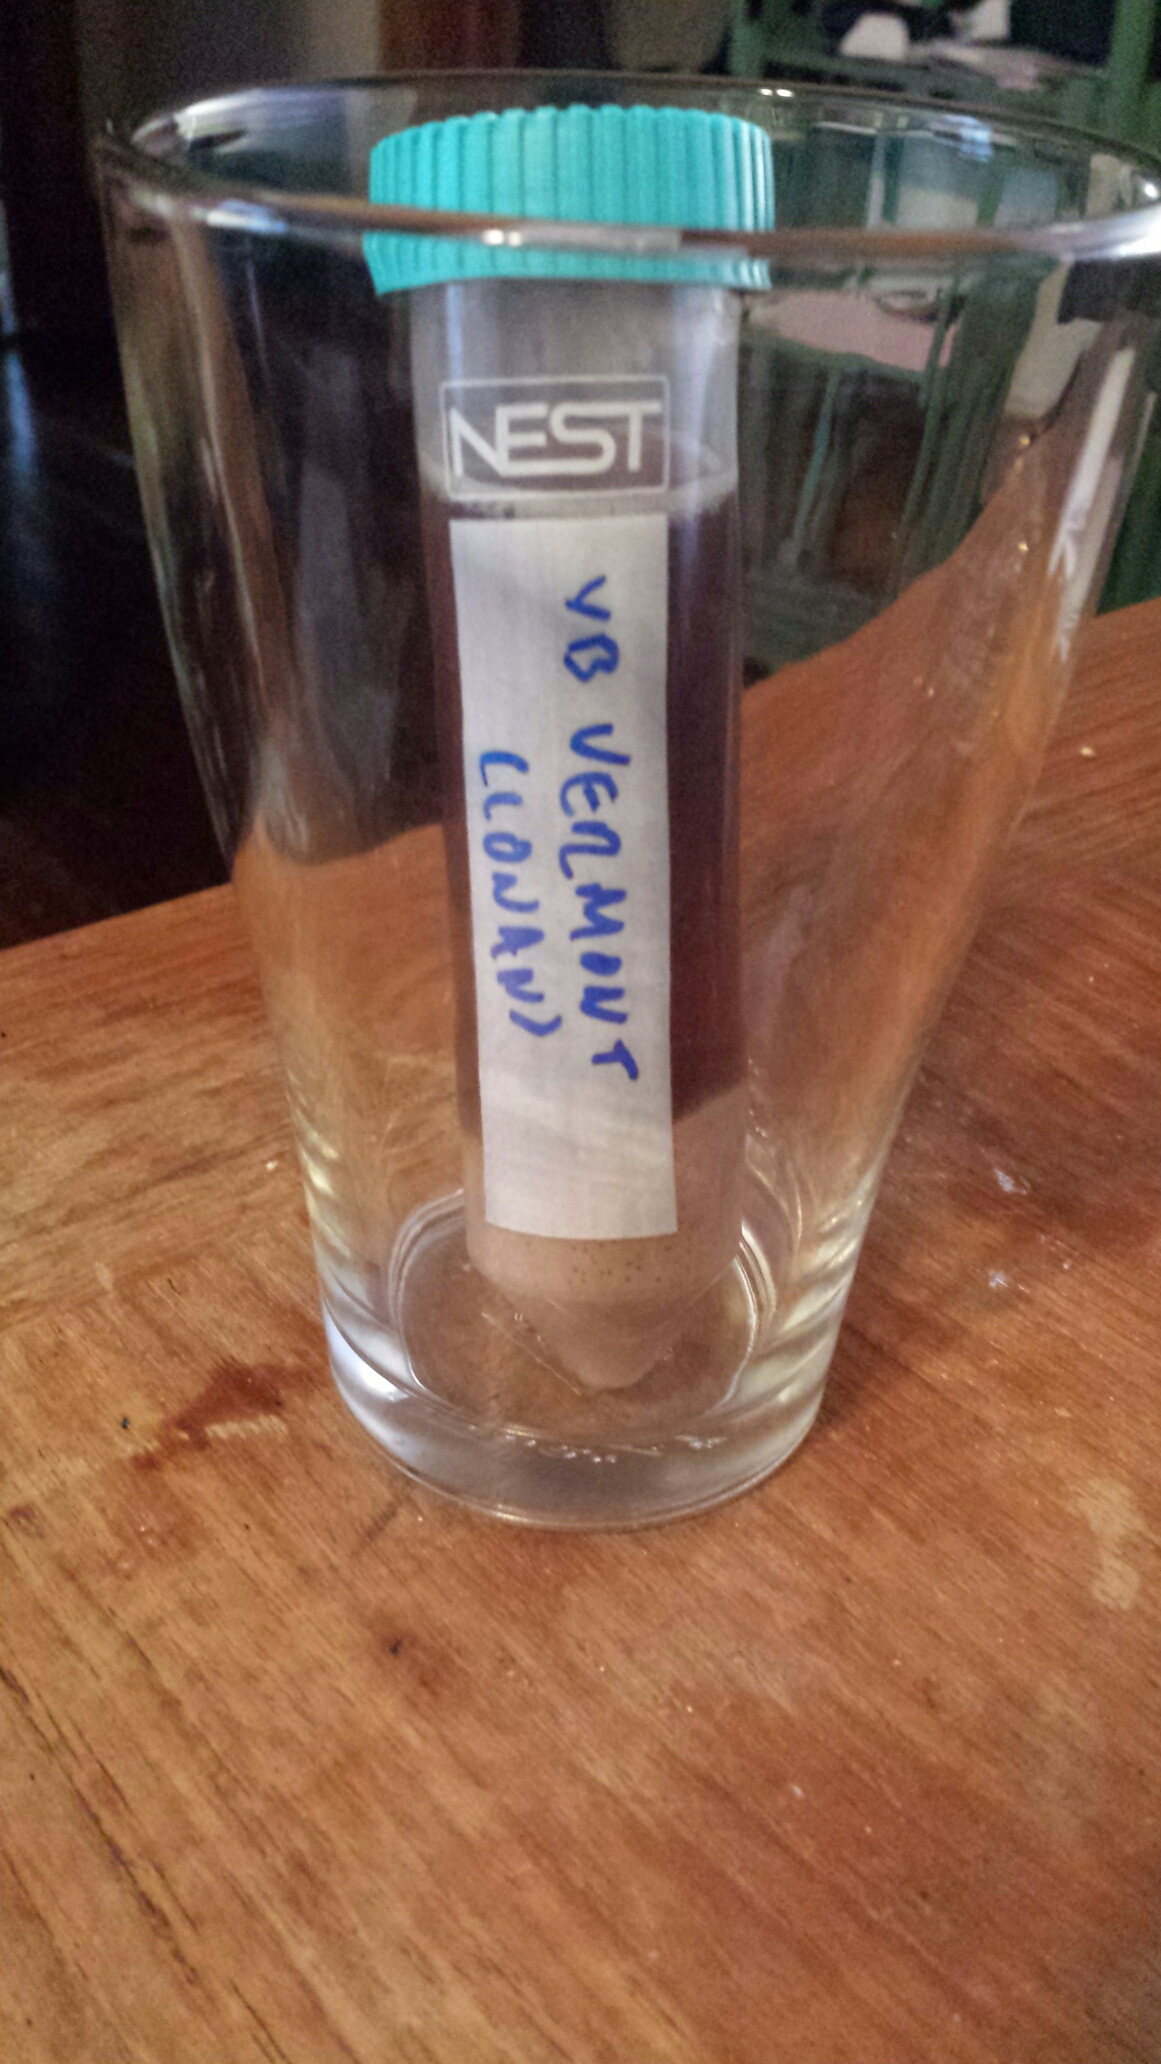
Harvested Slurry after decanting and cold crashing.
Step 6: Pitch Away
You should know what to do here. Pitch the remaining yeast slurry into your beer, be sure to let it warm up to room temp before pitching to avoid shocking the yeast.
Step 7: Using Harvested Yeast
Just pretend it’s a fresh vial and do everything you’d do normally and enjoy the money, gas and time getting fresh yeast you just saved! I use the same viability model as Olan over at Brewunited.com where you retain 80% of your viable cells every month (100.8=80, 80.8=64. 64*.8=51.2), note that this differs from the more common linear model (100-20=80, 80-20-60, 60-20=40. etc).
I’ve taken yeast as far as six months to success and have had no infections to date* using this method.
*knock on wood